Using Campfire with Headsets
Learn to view content in a headset and collaborate with others on PC, Mac, iPad, and supported XR headsets.
Campfire works with a growing range of XR headsets, including Meta Quest 3, Quest 3S, and Samsung Galaxy XR (Android XR). If you have your headset handy, open the app and click on Get Started. Spark, a virtual assistant, will guide you through a fun and interactive tutorial designed to get you started in a few minutes. We highly recommend it!
You can also watch this quick tutorial video of Spark walking through the tools:
Viewing models
When you open the Campfire app in a headset, you’ll be in passthrough mode by default. Once you’ve logged in, you’ll be presented with the project list view. By default, all users have a list of sample projects that show how Campfire can be used for design reviews, training, and troubleshooting.

Go to the project and scene you want to view.
When others are also viewing a scene, you’ll see them represented by either a rectangle (if they’re using a PC, Mac, or iPad) or a generic head (if they’re using an XR headset). You’ll also see their name under the rectangle or head, so you’ll know who’s in the scene and exactly what they’re looking at.

Using the controller
Campfire uses a single controller by default. You can use either the left or right controller and can switch between them at any time by pressing any button. To click on a button or select, point your controller and click on the index trigger.

Using your hands
Campfire also supports hand tracking, so you, as a viewer, can interact using just your hands — no controller needed. Hand tracking works automatically and naturally: set your controller aside and your hands are recognized right away. Pick the controller back up at any time to return to controller input. You can move between the two freely during a session.
To interact with an element — even one across the room — use your hand to cast a hand interactor ray, move your palm over the element you want, and pinch to select. It's the same reach-and-select flow as the controller's laser, done with your hand.
Hands are ideal for viewers. With no buttons to learn, a participant can put on a headset and start interacting within seconds — pointing, navigating, and following along while a presenter leads the session with a controller.
With your hands you can:
- Log in and move through the interface — select a project, open scenes, and navigate every panel
- Point at models to direct attention
- Edit and resolve comments
Other people in the session can see your hands, so pointing and gesturing read naturally to everyone in the room.
Some tools still require a controller. Tools that create content or manipulate a model — such as grab, move and rotate, slice, zoom, explode, sketch, creating comments, and materials editing — rely on the controller's triggers and thumbstick, which hand tracking doesn't replace. In practice, hands give you the full viewer experience, while a presenter who is manipulating models will want a controller.
Universal menu
When you start the app, the menu is minimized to just the grab handle. Click on the grab handle to expand the menu. The menu stays where you place it — grab the handle at the bottom to move it out of view or into a convenient position as needed.
The layout of the menu is consistent across all Campfire devices. You’ll see the scene list and model hierarchy on the left, content in the middle, and the inspector on the right. Scenes that you composed earlier on a PC, Mac, or iPad will show in the scene list.

Presenter mode
Inside a Campfire project, there is always one presenter, indicated by a yellow dot above their user icon. The presenter is the only user who can switch scenes and manipulate or interact with models using the full range of tools.
There can only be one presenter at a time. When you are the only user accessing a project, you are automatically the presenter. During multi-user collaboration, the user who joins the project first is the presenter by default.
Presenter controls can be reassigned to another user at any time, as long as their permissions allow, by clicking their user icon and selecting Make Presenter. For more on permissions, see the articles on sharing and managing users.

Using tools
To bring up the toolbar, press and hold the B button (or the Y button if using the left controller). Hover over the tool you want to select, then release the B button to select it. The toolbar is available to everyone, but the tools you see depend on your permissions: anyone can use the laser pointer, users with Commenter permissions or higher also see the annotation tools, and the presenter has access to the full range of tools shown below.

Controls
B / Y: Hold to open toolbar; release to select a toolA / X: Press to see options for the currently selected toolIndex Trigger: Activate toolThumbstick: Adjust tool
Laser
Press the index trigger to activate the laser.

Comment
Hold and drag the index trigger to place a comment, then type out your comment.
You can also click on a comment to resolve, edit, or copy a link to it.

Sketch
Take a snapshot of the model with the index trigger and then hold down the index trigger to make a sketch.
You can also click on a sketch to resolve, edit, or copy a link to it.
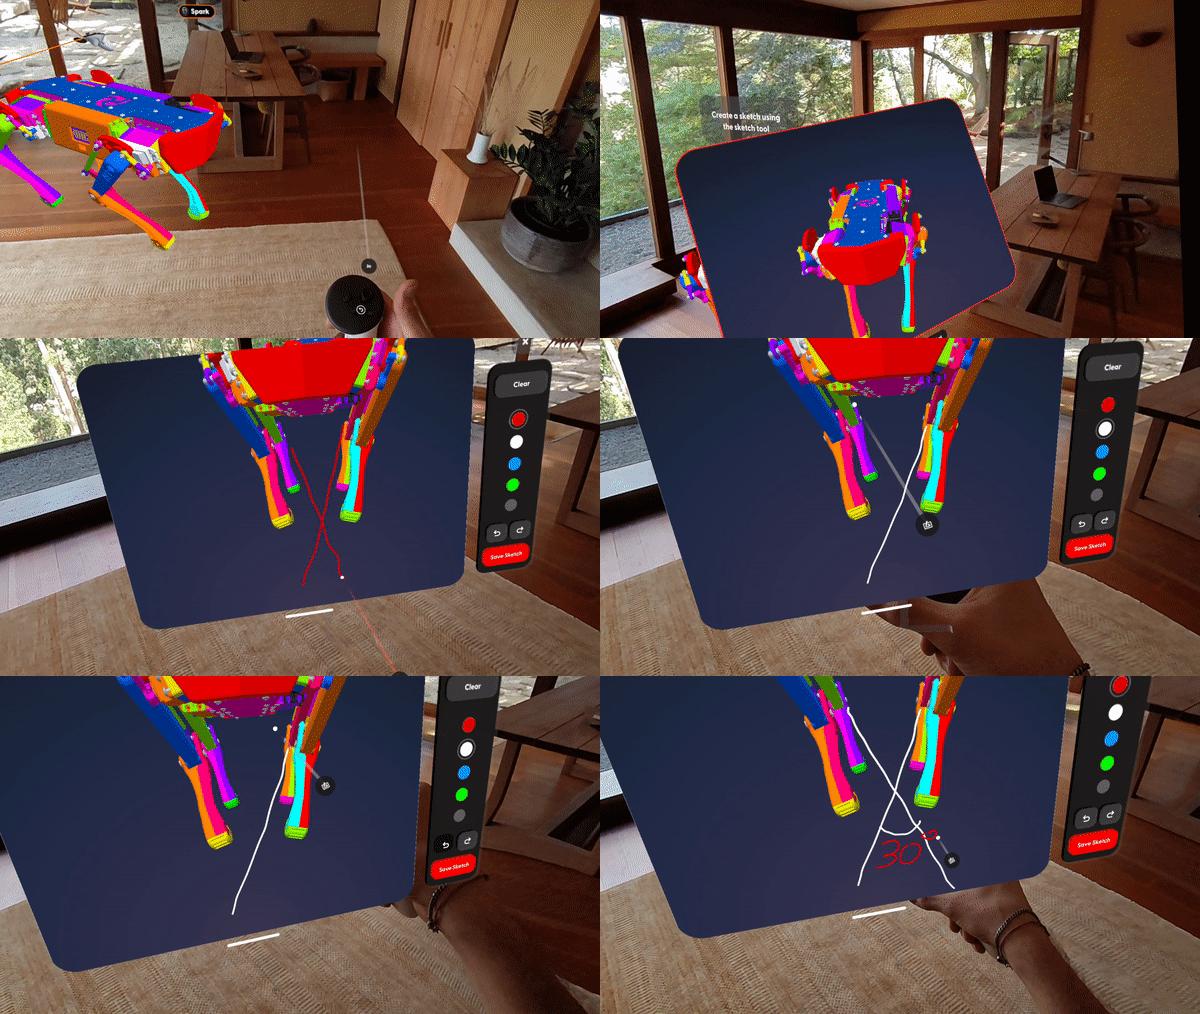
Slice
Hold down the index trigger and move the controller to slice through the model.

Explode
Move the thumbstick up and down to explode.

Zoom
Grow and shrink the selected model
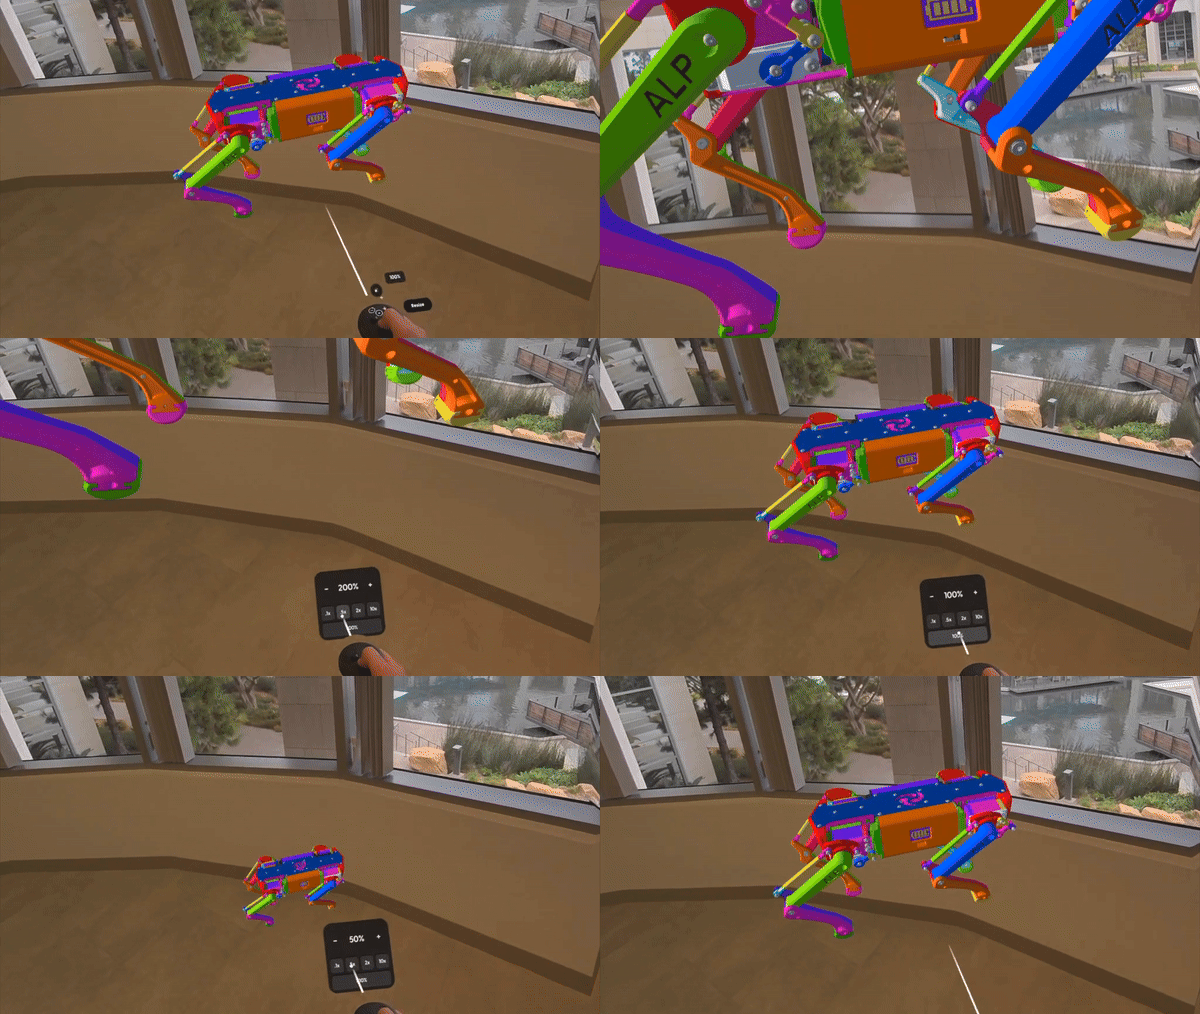
Grab
Point at a part of the model and hold the index trigger to grab.
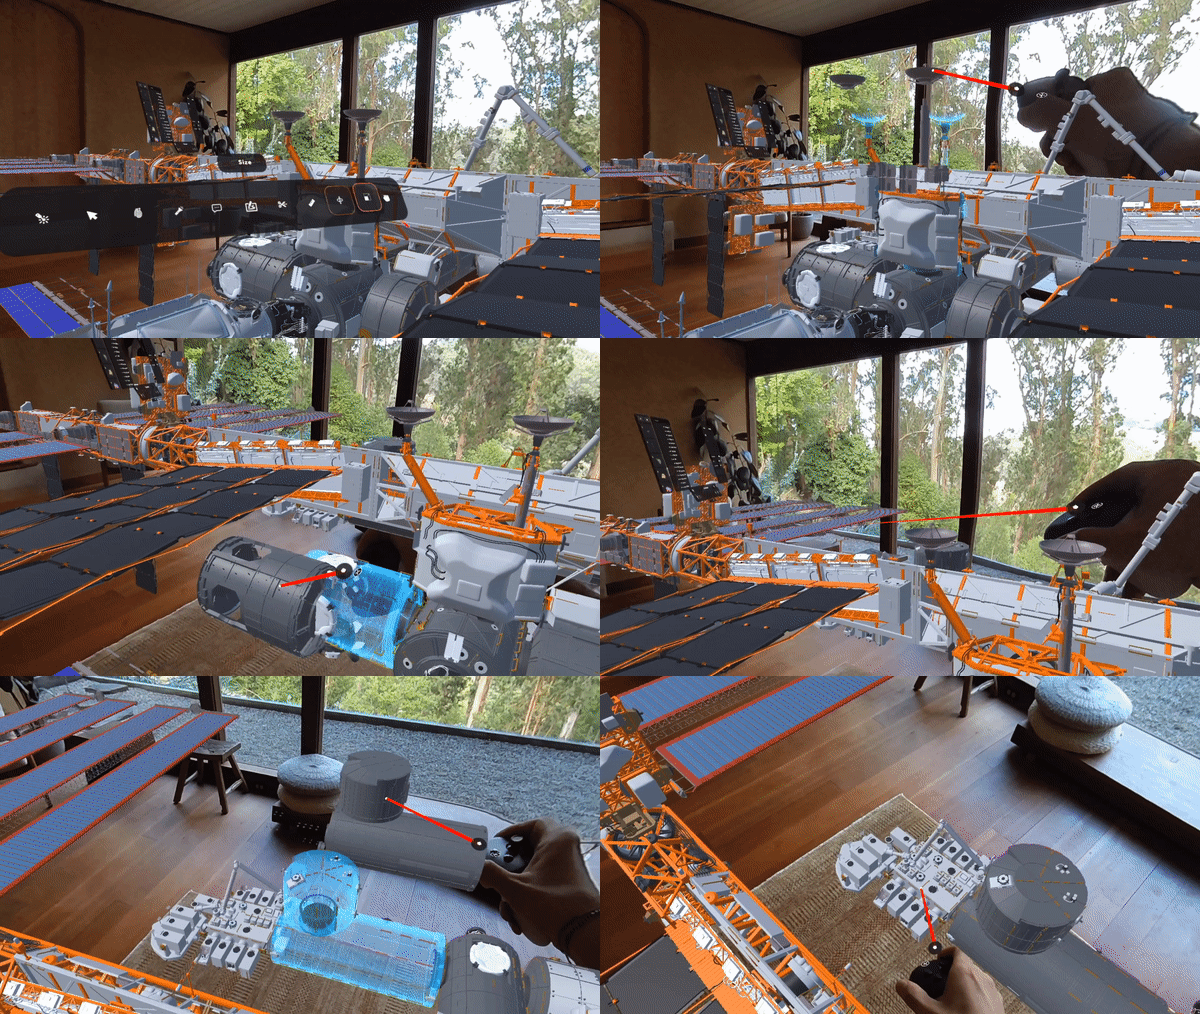
Sharing
You can easily share a project with others using their email address. If you share a project with someone who does not already have a Campfire account, they will be prompted to create an account and download Campfire before they can view your project. For more information on sharing, see the full article here.
Inside the project, open the universal menu and click on the Share button in the top right corner.

Enter the email of the user you want to share with, set their permissions for that project, and press the Send button.

Scene Anchors
Scene anchors let you align a Campfire scene with the real world: anchor a virtual model to a physical object, or anchor everyone’s view to the same spot for in-room collaboration in a shared space.
Print and place a marker, then scan it on a headset or iPad to align the scene automatically for everyone in the room. Only a project’s owner or editor can add anchors. For more on scene anchors, see the full article here.

Related Links Scene Anchors Optimizing Models for Performance