Selection Sets
Group multiple parts and models into a Selection Set to help easily compose complex scenes
Creating a selection set
A Selection Set behaves like a shortcut to a group of models and/or parts. You can perform actions like moving, scaling, rotating or hiding all of the grouped items in the selection set simultaneously. Here’s how you create a set.
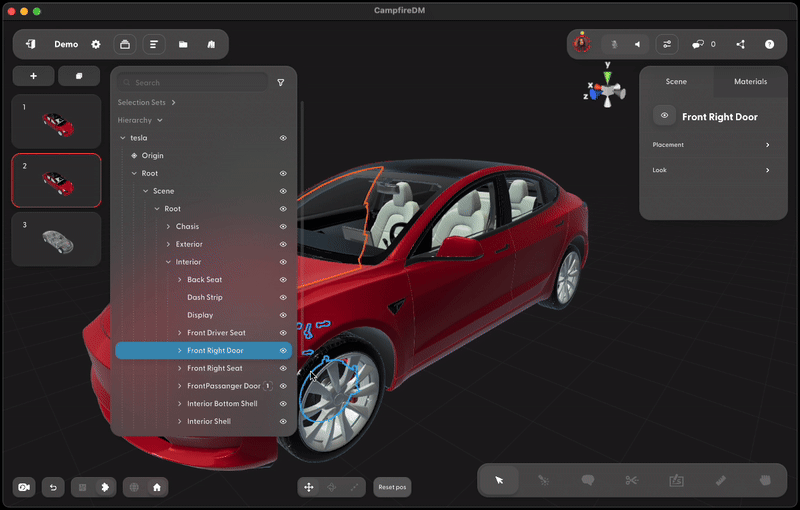
1. Select multiple parts or models
Use
1. Shift + Left click to select individual parts (in the hierarchy and scene view)
2. Shift + Left click + drag (in the scene view)
Tip: You can switch between part and model selection modes using the toggle in the bottom left corner

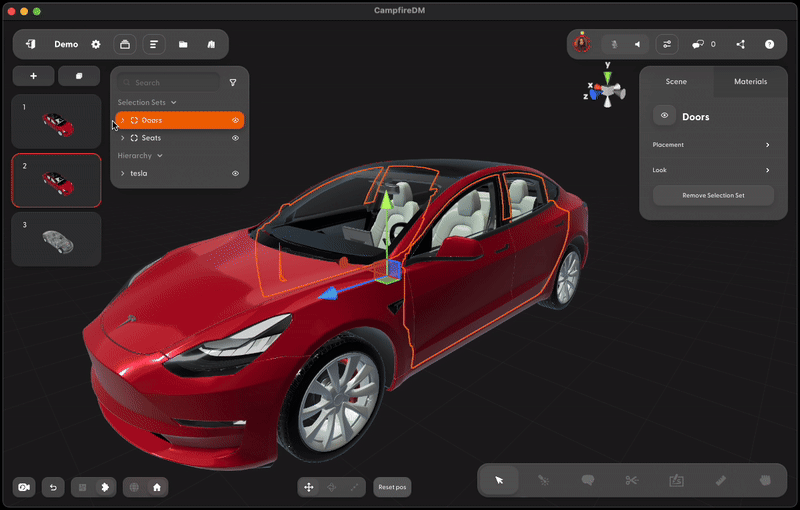
2. Right click anywhere on the selection
Create a new selection set or add to an existing one
Selecting in the hierarchy:

Selecting in the scene view:

Note: You cannot combine selection sets
3. Rename the selection set
Click on the selection set → rename it in the inspector on the right

4. Add and remove from selection sets
Add to an existing selection set
Right click → “Add to Selection Set”
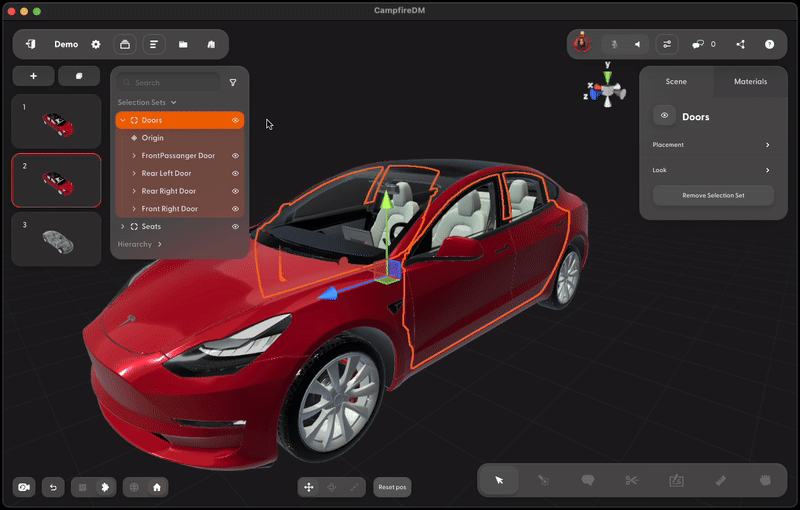
Remove from a selection set
Right click → “Remove from Selection Set”
Note: Removing a selection set will not delete the parts and/or models from the scene
5. Operations on selection sets
Move, Rotate, and Scale
Use selection sets to transform a group of parts and/or models all at once
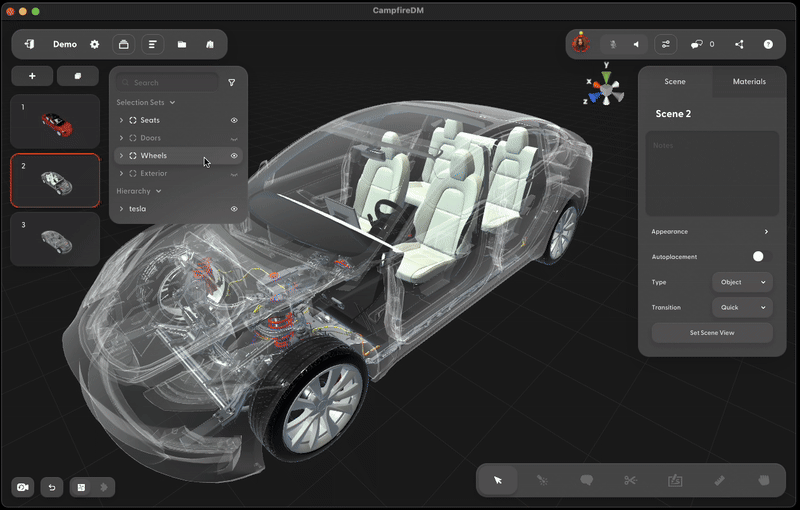
Hide and Show
Use selection sets to hide multiple parts at once
Tip: Use the hierarchy filter to visualize hidden parts as x-rays
Next Steps Composing a scene Collaborate with others