Compose Scenes
This article will get you started on the basics of composing scenes with your 3D CAD models and scans. You’ll learn how to add your own models, edit material properties, and then share and collaborate with others. If you work with Alias, Blender or Autodesk Inventor models, please see the articles below for best practices on how to export models from those tools, so they can be easily added to Campfire.
Create a new project
Content in Campfire is organized by projects with one or more scenes that contain one or more 3D models. Open the Campfire app and click on New Project. This will create a project and take you to a blank scene.
On Desktop

On Meta Quest

Add a model to the scene
Add a model by clicking on the 📁 icon in the top bar or by simply dragging and dropping a file from your file picker.
Campfire supports 40+ file formats of 3D CAD and scans. The model will be processed in the Campfire cloud and appear in the center of the scene when done. Processing time varies and depends on both your internet speed and model size.
On Desktop

On Meta Quest and HTC VIVE

Note: You must have an Enterprise plan in order to access all 40+ formats. Compare Starter and Enterprise plans.
Renaming scenes
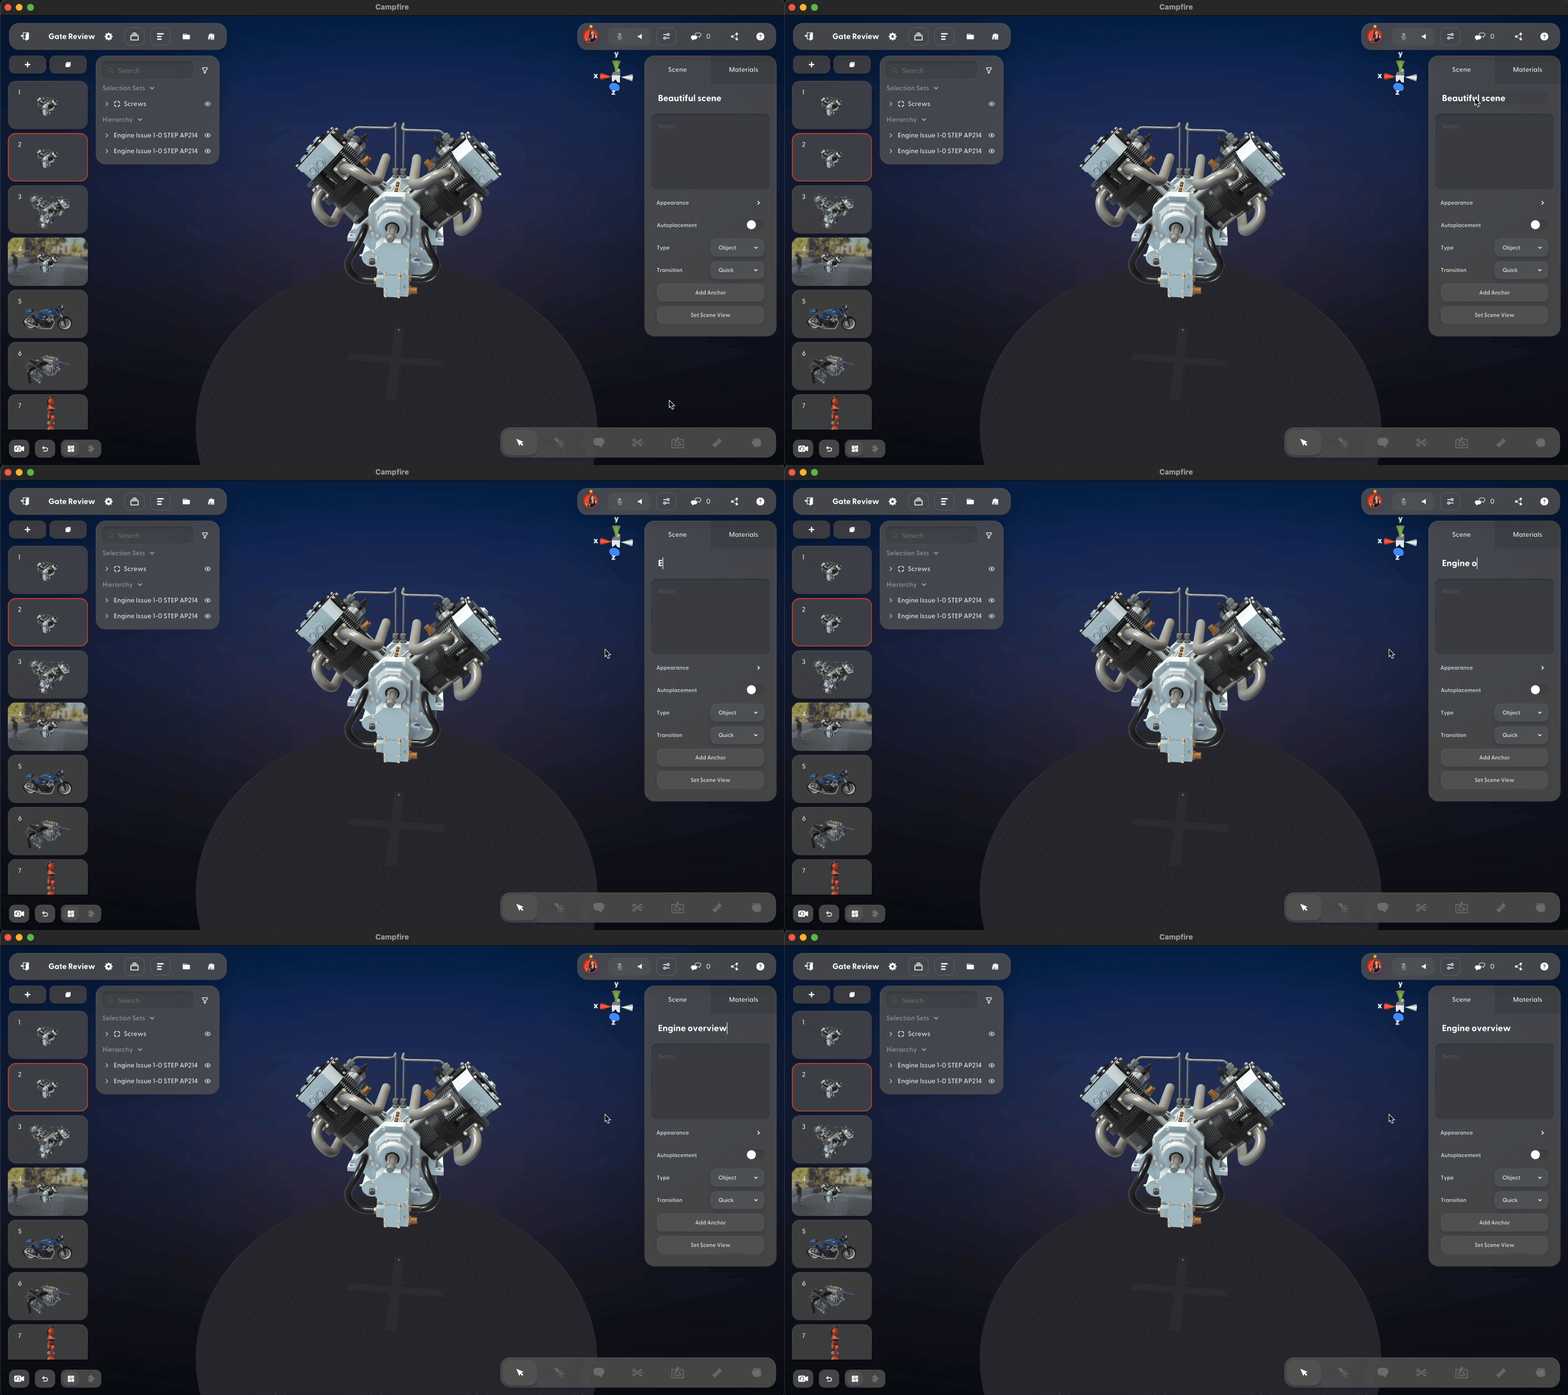
To rename a scene, click on the scene name within the inspector. Type the new name and then click anywhere or press enter to save the change.

Editing scenes
Once your model is added to a scene, use a variety of Campfire tools to move, rotate, scale your models, adjust materials and create detailed scenes.
On desktop and iPad

On Meta Quest and HTC VIVE

Move, scale, and rotate
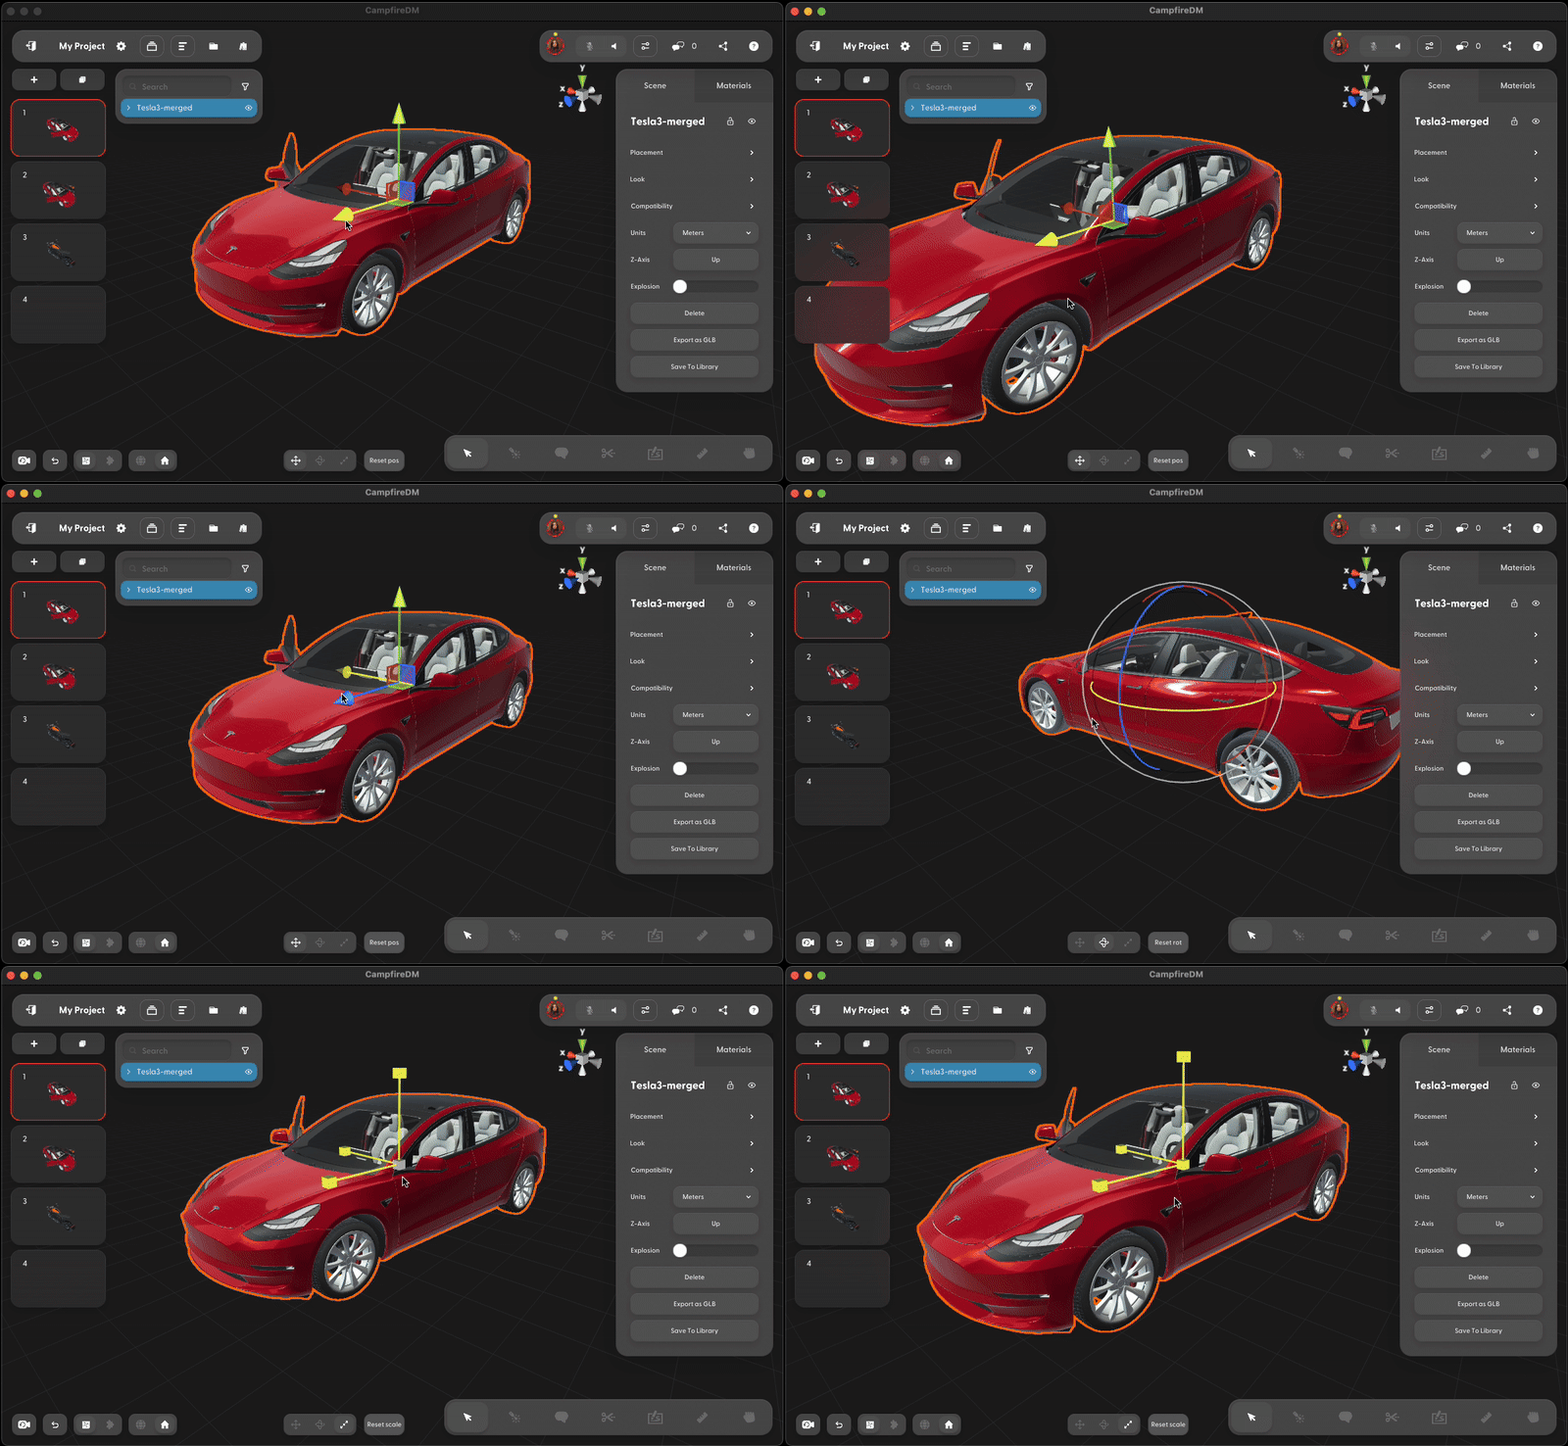
Select your model and toggle between the move, scale, and rotate gizmos at the bottom of the screen to position your model in the scene.


ctrl/⌘+C and ctrl/⌘+V or by right-clicking on the model. Read the Keyboard Shortcuts article for more.Model hierarchy
Use the model hierarchy to select specific parts of a model and hide or show them using the eye icon.

Apply materials
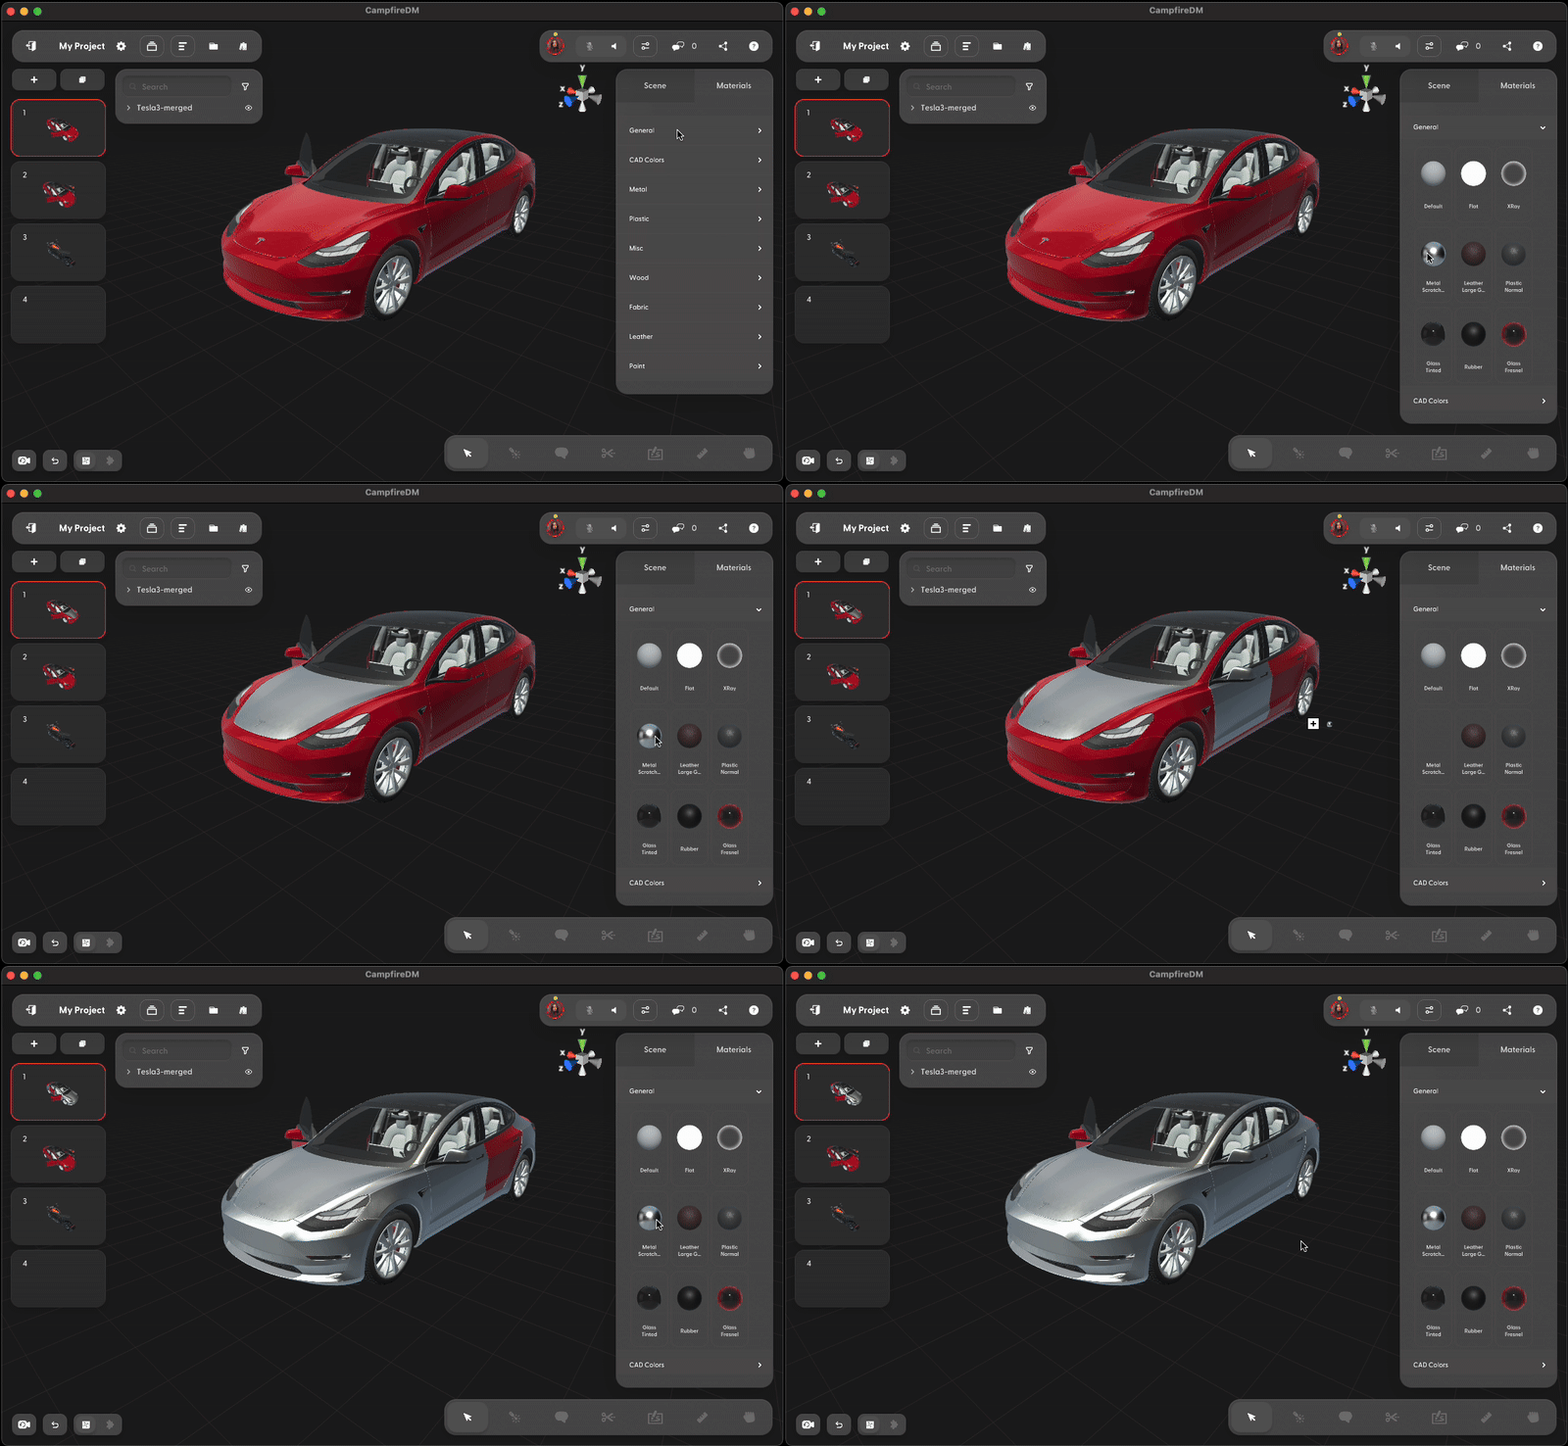
To apply materials, use the inspector panel on the right side of the screen, and switch to the Materials tab. Simply drag and drop materials and colors onto parts of your model to apply them.

Add more scenes
Use multiple scenes in a project to demonstrate training procedures, or to organize content for design reviews.


add creates a new scene
duplicate makes a copy of the current scene
Environment scenes
To view and navigate room-scale or larger models, you can set up the scene as an environment scene to easily teleport and jump large distances. Learn more

Optimizing models for Quest and iPad
To ensure the best performance for large or complex CAD models on devices such as Quest and iPad, Campfire lets you optimize them for those platforms. Select the model and then go to the inspector view, click on Compatibility, toggle the devices you’re going to use, and click on Start Processing. It may take a few minutes to complete before you can view them.

Note: If a model is not optimized for Quest, performance may be poor depending on model complexity. Please open the Campfire app on a PC, Mac, or iPad to optimize the models. Learn more about optimizing for and viewing your models on Meta Quest and iPad.

Sharing a project with others
When you’re ready to review your work with others, simply share a link to the project or scene.
You can easily share a project with other Campfire users by adding their email address. Click on the Share button to add the emails of other Campfire users.


You can also share a project with a user who does not already have a Campfire account. The user will be prompted to create an account and download Campfire before they can view your project.
Note: Sample projects cannot be shared.
Collaboration
Once you’ve shared your project with others, you can collaborate with a variety of tools in the toolbar on the bottom right.
Laser
Use the laser to point out parts of the model.


Comment
Create text comments.


Sketch
Sketch on snapshots of a model.


View and manage all annotations in the scene with the annotation list
Explode
Get a better look at the individual components of a model.

Related FAQ
Next Steps Collaborate with others Applying Materials Sharing
