

Support Center
This is where you’ll find information and resources on how to use Campfire. To navigate the Support Center, use the search or menu located in the left sidebar.
To contact our support team, email support@campfire3d.com.
Getting Started
Get the App
Available on Meta Quest, HTC VIVE, Samsung Galaxy XR, Windows, Mac, and iPad.
Compose Scenes 
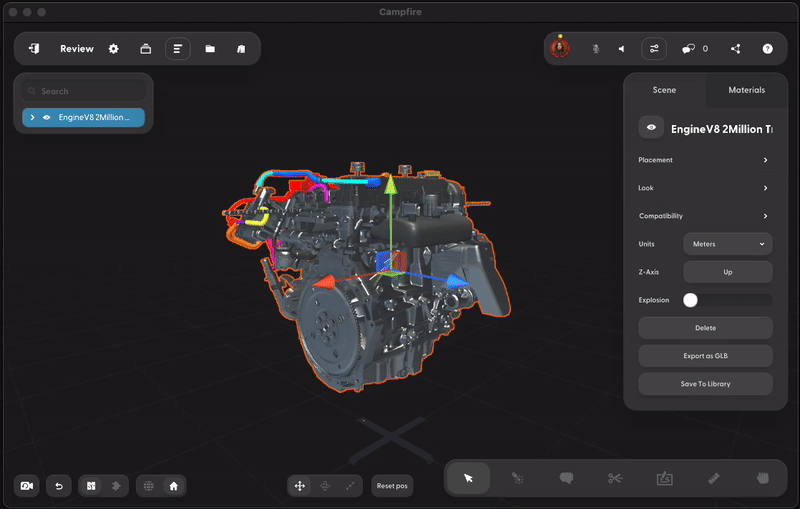
Compose Scenes
Learn how to add 3D files, edit and organize your content into scenes, and share projects with others
Share and Collaborate
Share and Collaborate
Learn how to access projects, view and interact with 3D content, and communicate feedback
Frequently Asked Questions
Devices & Account
‣
‣


‣


‣
‣
‣

‣
‣
Pricing
‣
‣
Collaboration & Sharing
‣

‣
‣

‣
‣
‣
‣
‣

‣
‣
‣
Animations
‣
‣

Adding 3D Models
‣
‣
‣
‣
‣
‣
‣
‣
‣
‣
‣
‣

‣

Material Editing
‣
‣
‣

‣

‣
‣