Kinematics
This article explains how to use Campfire Kinematics to check tool and part clearances with sub-millimeter precision.
Campfire Kinematics lets you validate hands-on procedures quickly and accurately using virtual models. Add tools or probes in any format, create scenes in minutes, and instantly see where collision occur.
Availability and requirements
- Kinematics is available for PC and PCVR. See Using Campfire PCVR for more info.
- Kinematics is available for Enterprise customers. To request access, email support@campfire3d.com or submit the request form.
How it works
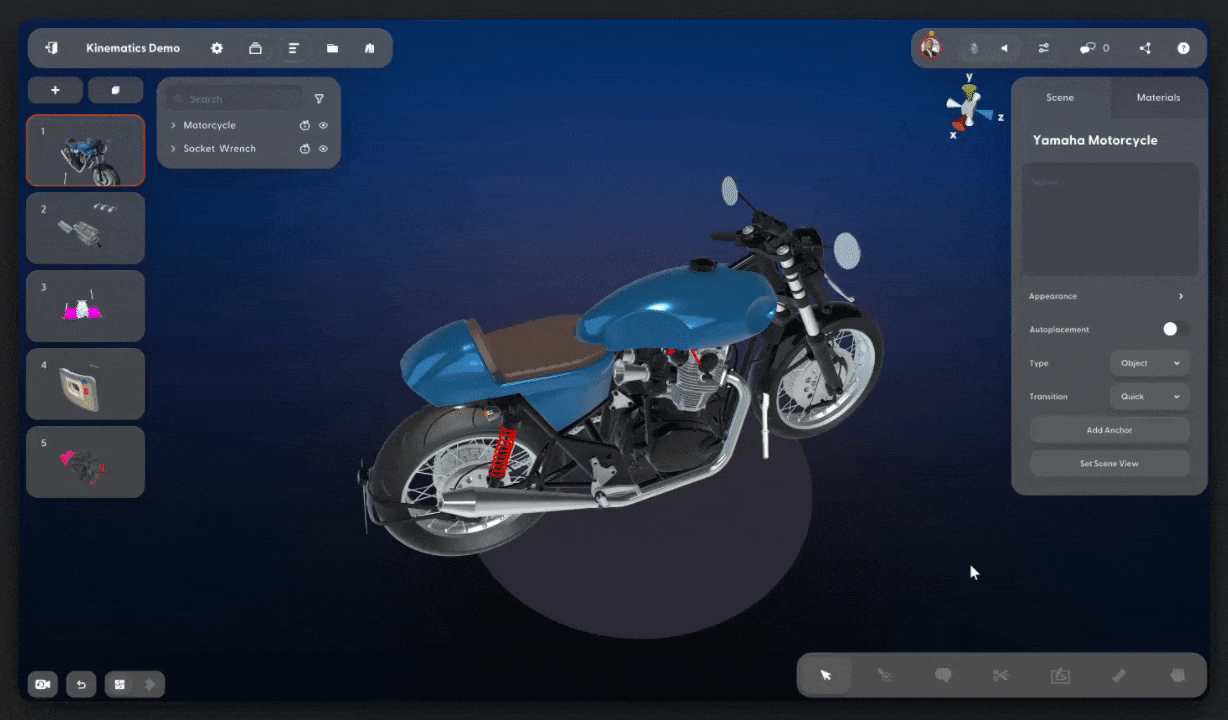
You can use Kinematics with your existing projects, or create a new project by adding models and composing your scenes.
Then, simply enable collisions on the models you want to use. Once activated, you can grab and move tools freely to check clearances and detect collisions in real time.
Activate Kinematics
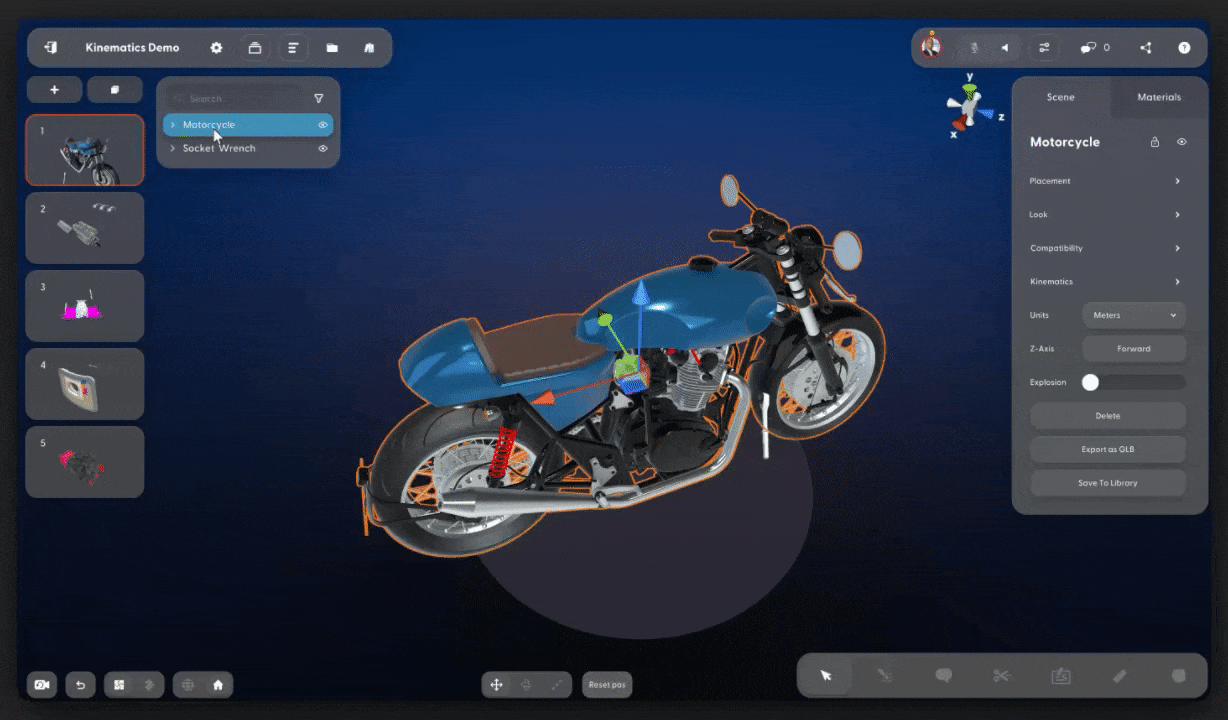
- Select any model in a scene
- Navigate to the Kinematics tab in the inspector
- Enable collisions by simply turning on the toggle switch
Configure visualizations
You can control how collision points appear by adjusting the visualization settings.
Points
Use the drop-down menu to select one of the following options:
- None — When a collision occurs, no visualization appears.
- Quick — Collision points are visible, then fade away quickly.
- Slow — Collision points are visible, then fade away slowly.
- Permanent — Collision points remain visible, unless remove them by using the
Clear PointsorReset Scenebuttons.

Force
Turn on the toggle switch to enable the force setting.
- Off — Each collision is represented the same way.
- On — Collisions are represented differently, based on the frequency of collisions at a given point on the object.

Find collision points
Use the Grab tool to pick up a part or model and instantly see where it collides with another part or model.