Adding Models
Learn how to add your 3D data to a Campfire project.
Add a model to the scene
Add a model by clicking on the 📁 icon in the top bar or by simply dragging and dropping a file from your file picker.
Campfire supports 40+ file formats of 3D CAD and scans. The model will be processed in the Campfire cloud and appear in the center of the scene when done. Processing time varies and depends on both your internet speed and model size.
On Desktop

On Meta Quest

Note: You must have an Enterprise plan in order to access all 40+ formats. Compare Starter and Enterprise plans.
Exporting from specific software
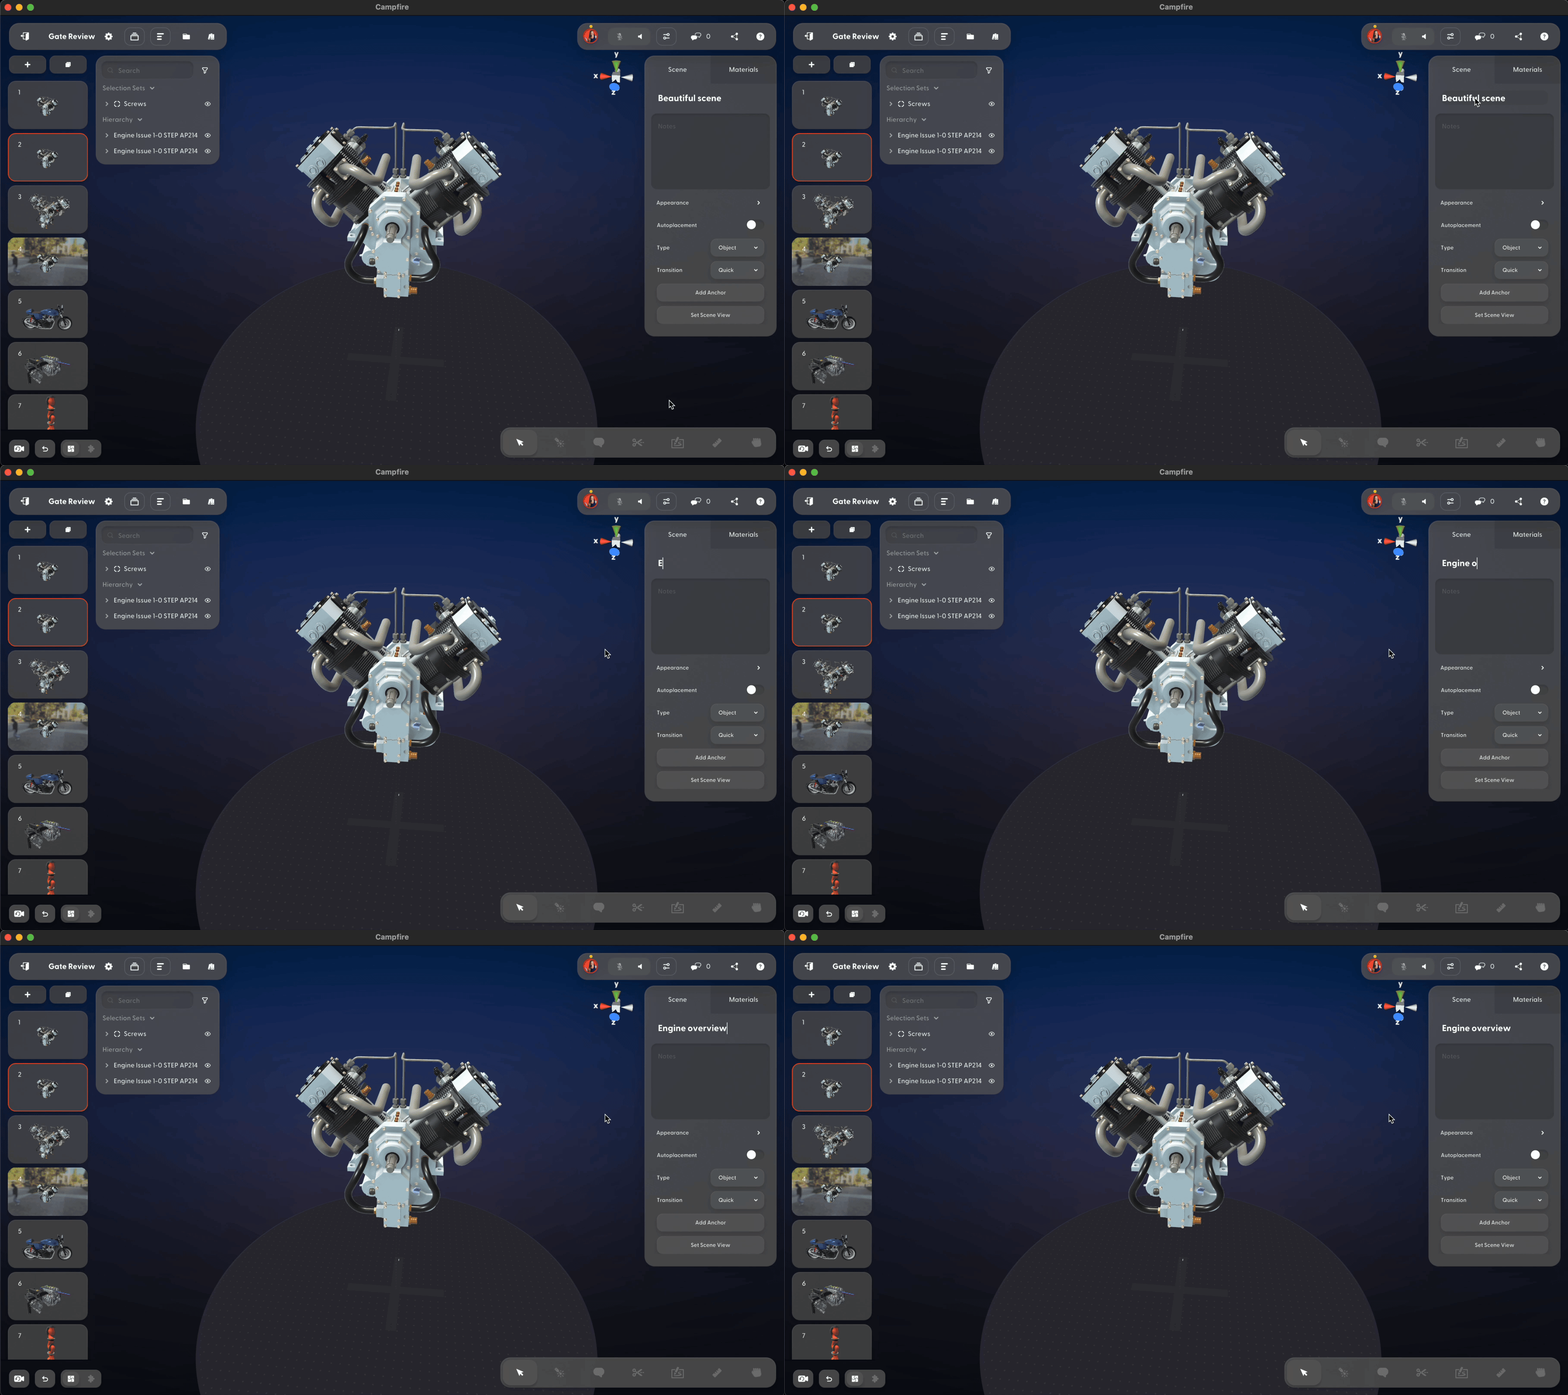
Renaming scenes
To rename a scene, click on the scene name within the inspector. Type the new name and then click anywhere or press enter to save the change.

Editing scenes
Once your model is added to a scene, use a variety of Campfire tools to move, rotate, scale your models, adjust materials and create detailed scenes.
On desktop and iPad

On Meta Quest and HTC VIVE

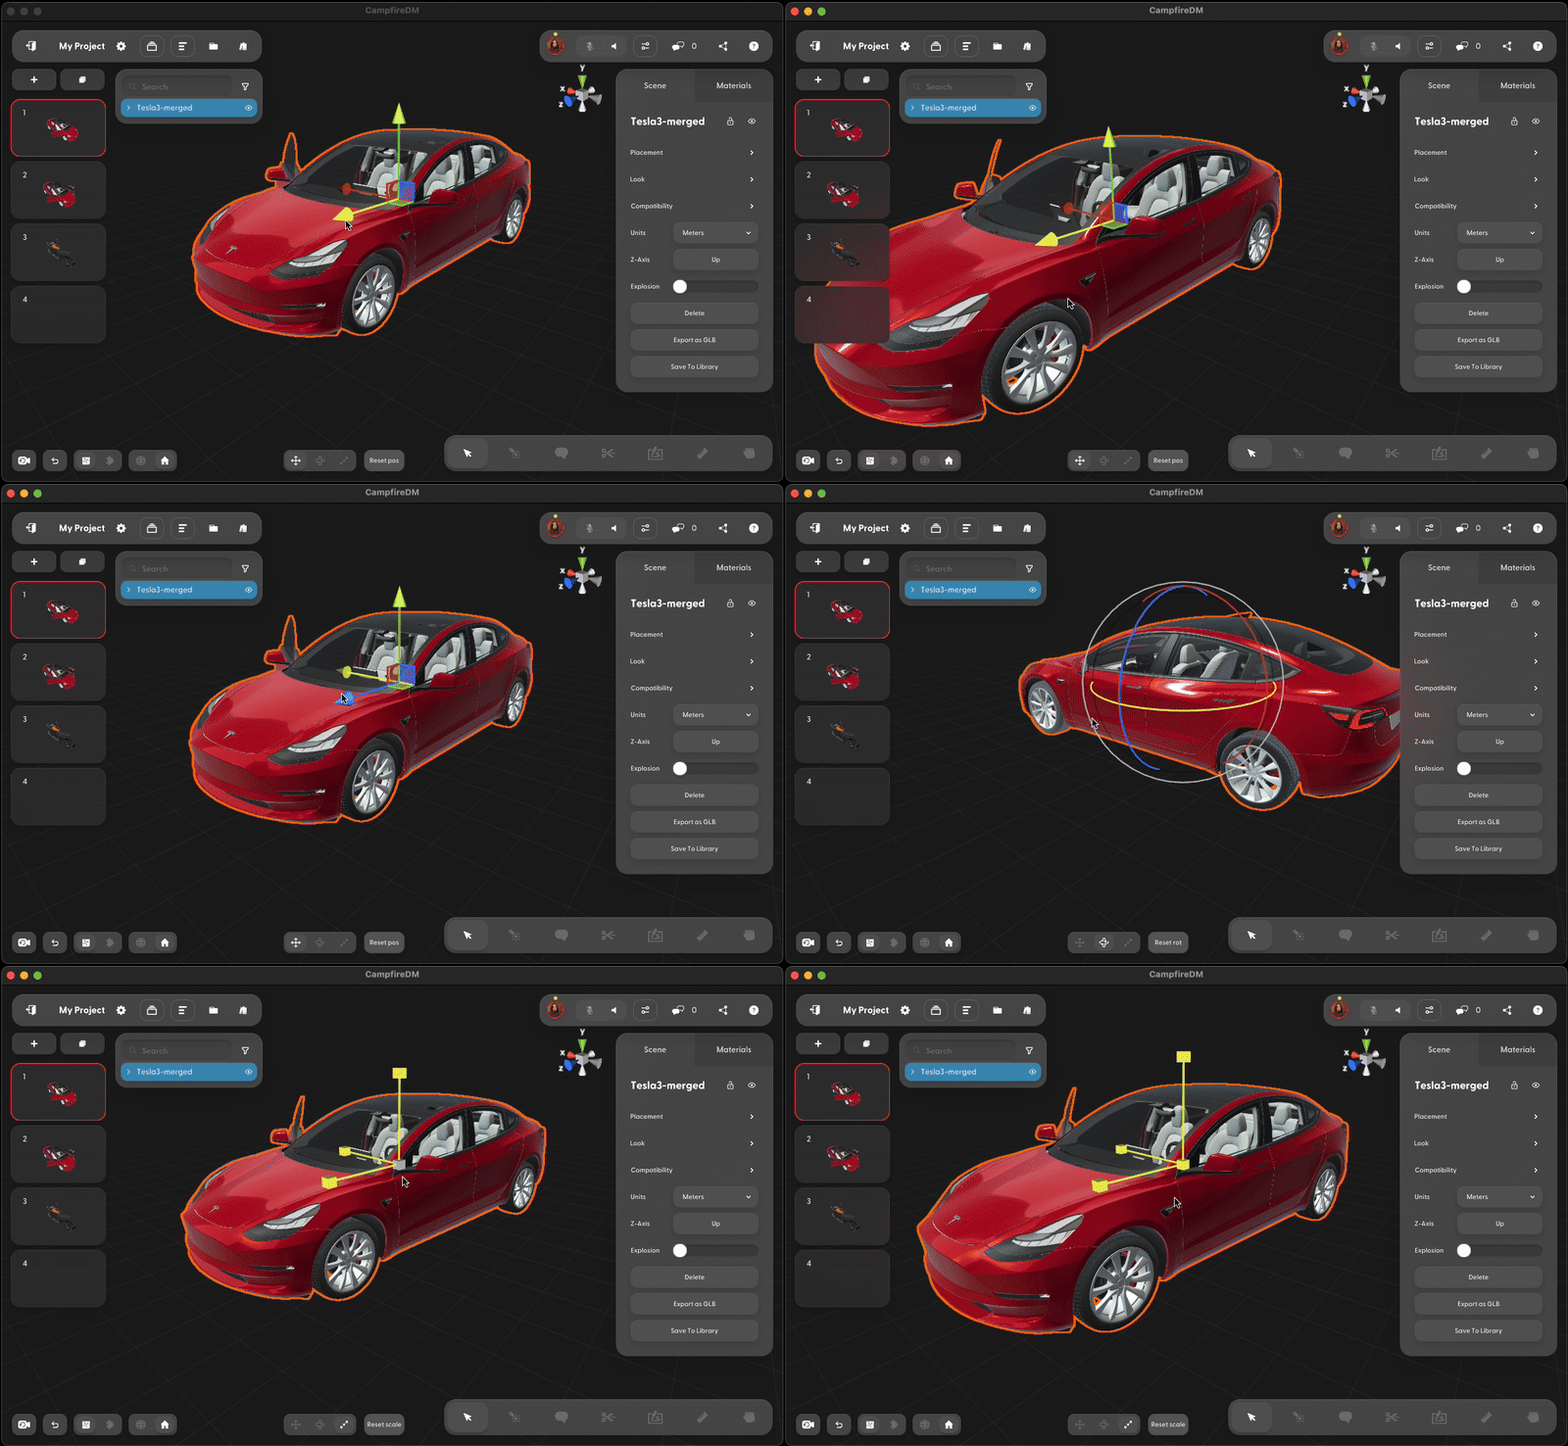
Move, scale, and rotate
Select your model and toggle between the move, scale, and rotate gizmos at the bottom of the screen to position your model in the scene.


ctrl/⌘+C and ctrl/⌘+V or by right-clicking on the model. Read the Keyboard Shortcuts article for more.Model hierarchy
Use the model hierarchy to select specific parts of a model and hide or show them using the eye icon.

Related FAQ
Next Steps Collaborate with others Applying Materials Sharing