Scene Anchors
Align your Campfire scenes with the real world. You can use scene anchors in two main ways: to align virtual models on physical objects, like displaying a dashboard on a buck, or to anchor everyone’s view to the same spot for in-room collaboration within a shared space.
How it works
Add an anchor to your scene on PC or Mac, then print and place the marker in your physical environment. When you open Campfire on a headset or iPad and scan the marker, Campfire will automatically position your scene content around it.
Note: Only an Owner or Editor of a project can add anchors.
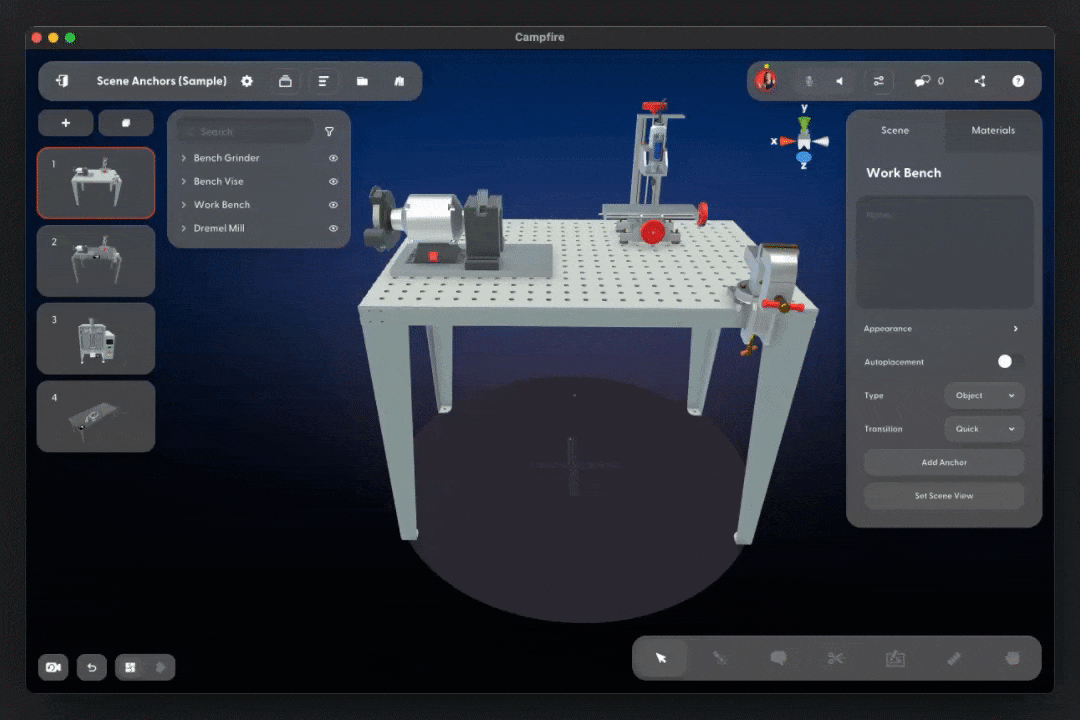
1. Add an anchor to a scene
To align virtual models to a physical object, first add a 3D model of the physical object. This is called the reference model because it won't be displayed when viewed in AR on the headset or iPad.
After creating a project and adding a model to your Campfire scene, click on the Add Anchor button.

Note: Make sure you're not selecting any model or part. Click in empty space to deselect any currently selected item.
2. Place the anchor
For aligning a marker with an object in the real world
Place the anchor on the reference model. Click on "Place Anchor" and then click on any point on the reference model to position the marker. Once placed, the model will automatically become transparent (x-ray) in the scene view (on PC/Mac).
Note: you can only place one marker per scene
For in-room collaboration
Place the anchor on the floor. When you have multiple scenes with the same anchor, simply duplicate the first scene that has the anchor, and then add your content to the scene. This will ensure that you are not detecting the marker in every scene and will lead to a more seamless user experience.

You can use the inspector to change the marker ID. If needed, you can use the gizmos to adjust the anchor's position and rotation for more precise placement on the model.
3. Printing and placing the marker
Once you’ve added an anchor in Campfire, print the marker out and align it on the physical object at the same place that you put it on the reference model or on the ground for in-room collaboration.

Note: The marker should be 17 x 17cm. Ensure your print settings don't alter the marker's dimensions.
Click on a marker to print:

ID #1

ID #2

ID #3

ID #4

ID #5
4. Scan the marker on a headset or iPad
For aligning a marker with an object in the real world
Use a headset to view the marker or switch to AR mode on an iPad to scan it.
Note: Scene Anchors are not compatible with PCVR

For in-room collaboration
Scan the marker on the floor.
Quest Settings
If your device does not recognize the Anchor, make sure your settings allow Campfire to access the headset camera. On your Quest, go to Privacy & safety > installed apps > campfire > turn on headset cameras.
Next Steps Composing a scene Collaborate with others